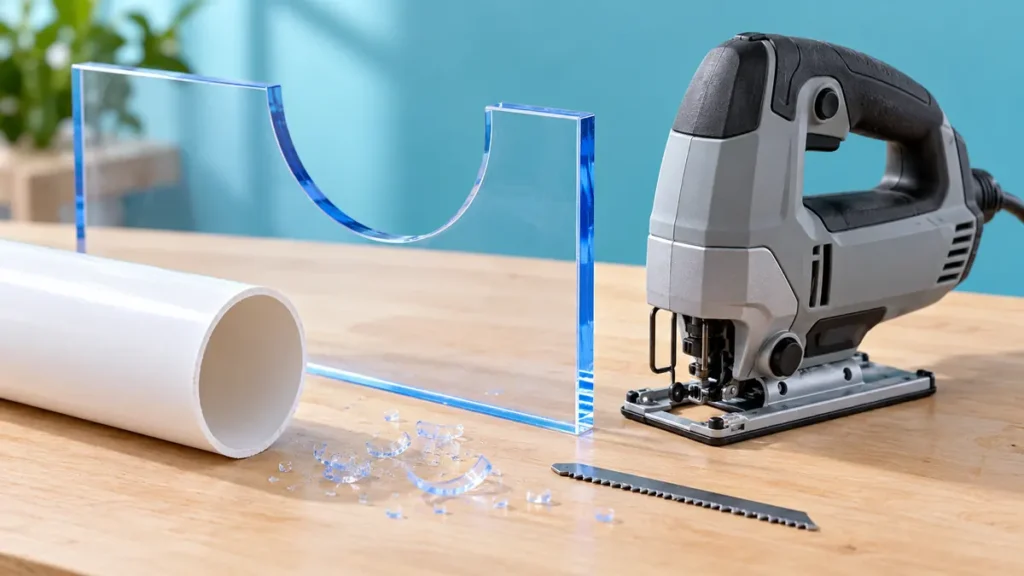
To cut plastic with a jigsaw, identify the plastic, use a blade rated for that material and thickness, clamp it against vibration and test speed and feed on scrap. Melting and cracking are different faults: one often points toward heat and rubbing, while the other can involve tooth impact, poor support or a brittle material. A single speed setting cannot solve both across every plastic. Use our jigsaw blades for plastic guide to find the appropriate material branch. Match the blade to acrylic, PVC or another named plastic rather than buying solely from a generic “plastic” description.
Make a Controlled Plastic Trial Cut
- Identify the plastic grade and thickness, then check its fabrication guidance alongside the saw and blade instructions.
- Arrange stable sheet and waste support with the blade route clear underneath. Prepare any internal entry using a method suitable for the material.
- Disconnect power before fitting a compatible, material-rated blade. Keep the shoe contact surface clean to protect the face.
- Start from the applicable speed and feed guidance on matching scrap. Watch for vibration, smearing and chipping without forcing the blade.
- Allow the blade to stop and cool before inspection. Change one relevant variable and confirm the edge from both faces before cutting the finished part.
Identify the Material Before Choosing Teeth
Read the sheet marking or supplier specification. Acrylic and polycarbonate may look similar but do not behave identically. Cast acrylic, extruded acrylic and impact-modified products can also have different fabrication guidance. Unknown reclaimed sheet is a poor place to apply a fixed rule.
| Observation on a trial cut | Check first | Adjustment to evaluate |
|---|---|---|
| Softened edge or chips welding behind the blade | Dull teeth, rubbing or an unsuitable blade | Fresh rated blade and a balanced speed/feed combination |
| Chipping or white stressed edges | Tooth geometry, vibration and material identity | Better support and the maker’s blade recommendation |
| Cracks beginning at entry or a corner | Unsupported stock, sharp geometry or excessive force | Supported entry and a suitable corner radius |
| Wandering below the line | Side pressure, blade stiffness or inadequate reach | Correct blade geometry and gentler steering |
| Shoe marks on the face | Debris or a rough contact surface | Clean shoe and suitable surface protection |
Change one variable at a time. A clear trial result is more useful than turning both controls randomly on the finished piece.
Treat Product Grade as Part of the Material Name
The useful material description includes the polymer, grade and thickness. A sheet sold as impact-modified acrylic can have different fabrication guidance from ordinary cast acrylic. A clear panel without identification might also be another plastic entirely. Keep the supplier label or specification with the offcut so the cutting method does not become detached from the material it was intended for.
This is also why a numerical tooth recommendation from one fabrication guide should not be copied into every plastic project. Check whether the guidance names a specific grade and whether it refers to a jigsaw rather than a circular or band saw. Blade geometry and cutting motion differ between tools, so the shared word “saw” is insufficient to transfer the recommendation.
Support the Sheet Close to the Cut
Clamp the work so it cannot chatter, while leaving clearance beneath the full blade path. Support the waste too, especially near the end of an opening. Check that clamps will not obstruct the shoe as the tool turns. Retain protective masking where the sheet maker recommends it, but make sure the layout remains visible. Tape and masking do not replace rigid support. Keep the shoe clean so trapped chips do not scratch the face. Disconnect power before installing a blade or changing the setup. Follow the tool manual and material supplier’s guidance on dust, chips and protective equipment.
Prepare the Entry Before Starting the Saw
For an internal opening, use an entry hole and drilling method suitable for the identified plastic. Position it in the waste with room to approach the line without forcing an immediate tight turn. Do not assume the sheet tolerates a plunge-cut method or a sharp inside corner simply because a wood panel does.
After drilling or marking, check the support again. The shoe should have a stable path, while the blade and tip remain clear beneath the work. A small piece that cannot be clamped safely needs a different holding arrangement or cutting method. Do not hold it in one hand beside the moving blade to compensate for the absence of bench support.
Acrylic: Do Not Transfer Advice Between Grades Blindly
Compare acrylic-cutting jigsaw blades with the sheet supplier’s recommendation. A blade intended for one impact-modified acrylic grade may not be the right choice for ordinary cast acrylic. Very fine teeth can also increase heat in some applications, so “more teeth” is not a universal improvement.
Use a sharp blade reserved for a suitable application. Start with a supported entry and a manageable curve. If the cut requires a corner tighter than the blade can negotiate, make the entry or corner by a permitted alternative method instead of twisting the blade. Allow finishing material where needed. A jigsaw cut is a shaped opening or edge that may require further finishing; attempting to obtain a polished edge directly can lead to excessive dwelling and heat.
PVC: Distinguish Flat Sheet from Pipe and Profiles
Flat PVC sheet can often be supported on a bench. Pipe and profiles need workholding that prevents rolling or collapsing without trapping the blade. The wall thickness, shape and material rating still determine the blade. Use jigsaw blades for PVC for the named PVC application. Identify any installed pipe’s service and isolate it appropriately before work; do not cut a pipe of unknown contents. For loose pipe, plan where the blade exits and how the offcut stays controlled. Do not introduce a coolant or lubricant simply because it helps with another material. Confirm compatibility with both the plastic and the electrical tool.
Tune Speed and Feed Together
Begin with the recommended setting for the exact blade and plastic. Aim for steady progress without forcing or lingering. If heat builds, stop and let the work and blade cool before inspecting the setup. If vibration dominates, fix support and tooth suitability before increasing speed. When the saw itself makes controlled starts difficult, compare jigsaws for plastic cutting around variable speed, visibility and manageable handling. A different saw cannot compensate for an unrated blade.
Use the Trial Cut as a Controlled Diagnosis
Keep the blade, sheet grade and support arrangement constant for the first comparison. Start from the applicable manufacturer’s recommendation, then inspect the result. If chips soften and weld back into the kerf, investigate heat and rubbing. If the edge chips immediately, investigate tooth geometry, brittleness and vibration. Slowing every motion indiscriminately can leave the blade rubbing in one place rather than solving the cause.
Allow the blade to stop and cool before close inspection. Change one relevant factor and try another short cut in scrap. Record the result without converting it into a universal setting. A successful combination for one thickness or curve may need reconsideration when the stock becomes thicker, the radius tightens or the plastic grade changes.
Inspect the Edge Before Committing the Part
Check the cut after it has cooled. Look for chips, melted beads, hairline cracks and an underside that has drifted from the layout. Revisit matching the blade to the workpiece if the defects persist. Keep the successful trial piece and note the blade code and plastic grade. That gives the next cut a useful starting point without turning one successful setup into a rule for all plastics.
Leave the Right Allowance for Finishing
Decide whether the edge is hidden, exposed or intended to fit against another component. A visible acrylic edge may need a separate finishing process; the jigsaw’s role is to establish a suitable shape and allowance. Attempting to obtain a polished surface by repeatedly dwelling with the blade can add heat without producing the required finish.
Check the top, underside and any internal corners after cutting. Do not force a cracked or badly distorted component into an assembly. If the shape is accurate but the edge needs refinement, use a finishing method appropriate to that plastic and its intended use. Keep adhesives, solvents and heat treatments outside the cutting procedure unless the material maker specifically permits them.
